Landlord Move-In Checklist: 20 Things to Do Before Your Tenant Arrives
Complete landlord move-in checklist: property prep, lease signing, deposits, utilities, and move-in inspection. Download your free printable.
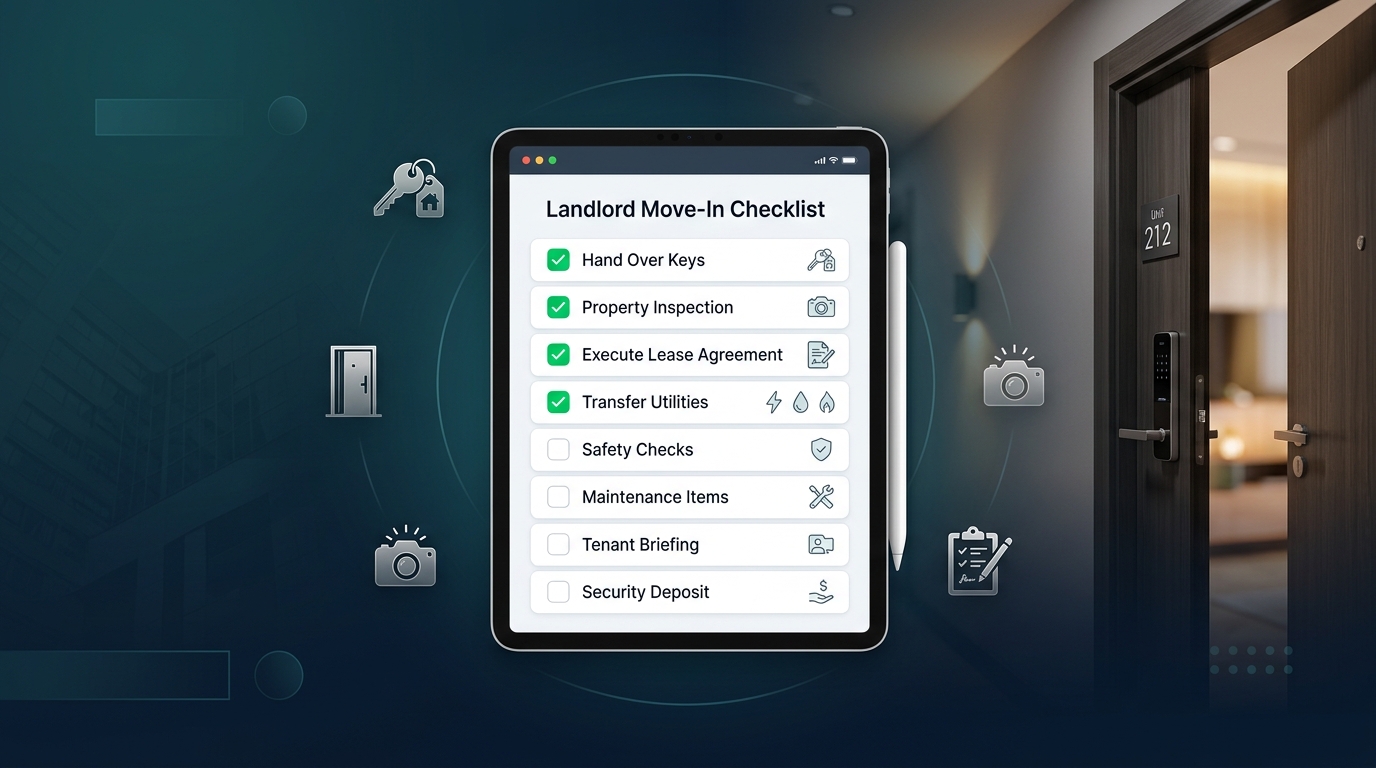
Move-in day is when your landlord-tenant relationship officially begins. Being prepared protects your property, sets expectations clearly, and dramatically reduces the chance of disputes when the tenant moves out. Here's the complete checklist.
Two Weeks Before Move-In
1. Confirm the lease is fully signed
Every adult who will live in the unit must sign the lease. Don't hand over keys until signatures are complete — even if the tenant has paid. Use a digital signing platform to get a timestamped record.
2. Collect all move-in funds
Before handing over keys, collect: first month's rent, security deposit, and last month's rent (if applicable). Accept certified check, money order, or bank transfer — not personal checks or cash for large amounts. Document everything with receipts.
3. Confirm renter's insurance
Require proof of renter's insurance before move-in. Your homeowner's or landlord insurance doesn't cover the tenant's belongings — and a tenant without renters insurance is more likely to pursue you for losses. Confirm the policy is active and lists you as an interested party.
4. Schedule a professional cleaning
The unit should be professionally cleaned before every new tenancy. This sets the baseline condition and makes your expectations clear for when they move out.
5. Test all systems and appliances
Run every appliance through a full cycle. Test every light switch, outlet, and GFCI. Check plumbing for drips and proper drainage. Test smoke detectors, CO detectors, and fire extinguishers. Run the HVAC on both heat and cool.
6. Change all locks
Rekey or replace all locks between every tenancy. You don't know how many copies of the previous tenant's keys exist. This is a non-negotiable safety step.
7. Confirm utility transfers
If the tenant is responsible for utilities, confirm they've set up accounts in their name before move-in. Get the account numbers. If you're covering utilities, notify providers of the new occupant.
Move-In Day
8. Do a thorough move-in inspection together
Walk every room with the tenant before they move furniture in. Pair this checklist with a thorough move-in inspection — use a printed or digital inspection form with checkboxes for every surface, fixture, and appliance. Note the condition: excellent, good, fair, or damaged — and be specific ("1-inch scuff on south wall of bedroom, 4ft high").
9. Take timestamped photos and video
Photograph every room systematically — walls, floors, ceilings, inside closets, under sinks, appliances open and closed. Upload them to your property management platform immediately so timestamps are preserved. These are your primary defense against deposit disputes.
10. Have the tenant sign the inspection report
Both parties sign the move-in condition report. Give the tenant a copy. This document is legally binding in most states and is the foundation for any deposit deduction claims at move-out.
11. Provide all keys, fobs, and parking passes
Give the tenant all access items they'll need: keys, mailbox key, garage opener, gate fob, parking permit. Log what you gave them — you'll need this when they move out.
12. Provide emergency contact information
Give the tenant a written document with: your contact information, the process for submitting maintenance requests, emergency contacts (plumber, electrician, HVAC), and what qualifies as an emergency versus a routine request.
13. Walk through lease terms together
Review the most important provisions in person: rent due date and late fee policy, guest policy, pet policy, noise expectations, smoking policy, and the process for lease renewal. Don't assume they read every line.
Legal and Administrative
14. Provide required disclosures
Many states require specific disclosures at lease signing. Common ones include: lead paint disclosure (all pre-1978 properties), mold disclosure, bedbug disclosure, security deposit handling procedures, and landlord entry notice requirements. Check your state's requirements — missing a required disclosure can void lease terms or result in penalties.
15. Register the tenancy (if required)
Some cities require landlords to register rental units or report new tenancies. Check local requirements.
16. Document security deposit handling
Most states require security deposits to be held in a separate interest-bearing account. Provide the tenant with written notice of where the deposit is held within the legally required timeframe (varies by state, typically 14–30 days).
Set Up Your Management System
17. Add the tenant to your property management software
Set up their tenant portal, activate online rent collection, and load the lease and move-in inspection photos. Send them an invite to the portal — tenants who pay online pay on time more consistently than check payers.
18. Set a lease renewal reminder
Set a calendar reminder for 90 days before lease expiration to evaluate renewal. Many landlords miss this window and end up with a month-to-month tenancy they didn't plan for.
19. Note the first rent due date
If the tenant moved in mid-month, you likely prorated rent. Make sure both parties are clear on when full rent is first due.
20. Introduce the maintenance request process
Show the tenant exactly how to submit a maintenance request. Tenants who know how to report issues report them early — before a small problem becomes a large one.
Use Technology to Automate the Process
RentrIQ handles lease signing, move-in inspections, tenant portals, and rent collection in one platform — so you spend move-in day with your tenant, not chasing paperwork.
Manage your rentals with RentrIQ
Free with unlimited units. Tenant screening, online rent collection, maintenance tracking, and more.
Start Free